


Photo by Neven Krcmarek on Unsplash
Soketi on Ploi with SSL
Learn how to run Soketi (Pusher compatible WebSockets server) on Ploi with SSL for use with Laravel.


In this post I'll try my best to explain how I would setup Soketi on a Ploi provisioned server.
But wait a minute what is Soketi and why would you want it? Soketi is a Pusher protocol compatible WebSockets server. This means that you can use a Soketi server using standard Pusher clients. The reason to want this instead of using Pusher is usually money (since Pusher is not cheap) but can also be for privacy reasons.
You might have also heard about Laravel WebSockets which is a similar idea but written in PHP, which is a less ideal language to write a WebSockets server in, Soketi is a great high performance alternative that is easy to setup and just as Pusher compatible. In addition to that Soketi support a few more cool things like webhooks.
As always when reading a guide, keep in mind I am using a fresh Laravel project which has no real code in it so your setup might be a little different. But the gist should be the same for all projects and should help you get started. But please be critical about the code and values you copy and paste and make sure it applies to you and your situation and setup
With all the out of the way, let's jump in!
Soketi
Preparing the server
Let's start with a standard Ploi server, there is nothing special about it, yet. If you already have a Ploi server setup and running you can follow along just fine! That good thing is that that makes the preperation easy, if you have a Ploi server running you are good to go!
Installing Soketi
Installing Soketi is surprisingly simple, you SSH into your server and run the following commands:
# Install the required packages needed to install Soketi
sudo apt install -y python3 gcc build-essential

# Install Soketi using NPM
sudo npm install -g @soketi/soketi
Configure the user
Now that we have Soketi installed we can run soketi start to startup the server. This is however not that useful since we need to keep our terminal opened to keep Soketi running, and in addition to that it also won't start when our server boots which is no bueno. The "right way" is to run Soketi as a Daemon instead which Ploi makes very easy to setup!
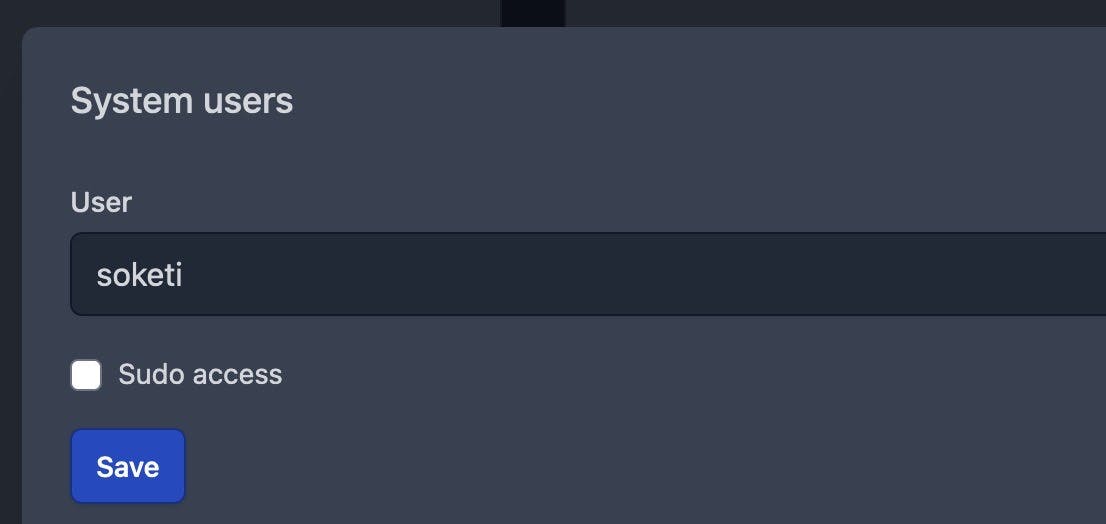
Because it's good practice we are going to run Soketi under it's own user account. We can create a system user from Ploi by navigating to the server > Manage > Services > System users. Create a user called soketi and click on save, Ploi will then create the user account for you.
Configure Soketi
Soketi has many ways to configure it to setup multiple apps or enable the queue for webhooks, the easiest way is to use a config.json file. Make sure the /home/soketi/config.json file exists and is owned by the soketi user. You can create and edit the file by running sudo -u soketi nano /home/soketi/config.json. Here is an super simple example file:
{
    "appManager.array.apps": [
        {
            "id": "",
            "key": "",
            "secret": ""
        }
    ]
}
You have probably figured out that you should fill the id, key and secret value with something and not leave them empty, if you don't have any specific in mind you can generate UUIDs for them or use some random strings.
Configure the daemon
Now that we have our user created and we have Soketi installed we can create the daemon to run Soketi and keep it running. Navigate back to the server > Daemons and fill out the form. The command is soketi start --config=/home/soketi/config.json and the directory is set to /home/soketi. Also make sure to select the soketi user we just created.

That is all, once you click "Add daemon" Ploi will start it and keep it running. You can also use the daemon overview to restart Soketi if needed.
Configure the webserver
Now that we have Soketi configured and running we can focus on setting up our domain and configure it to serve Soketi and give it a SSL certificate. Navigate to your server > Sites. The domain is up to you and you can leave everything else as default.

Once the site is created we can click into it, the first thing to setup is SSL, click to the SSL tab of the site and set it up like normal. Make sure you have the DNS setup properly and make sure the certificate finishes setting up before continuing.
Now that the site is ready for us we can start modifying the NGINX configuration to serve Soketi instead of PHP (which is setup by default for us). We do this by navigating to the site > Manage > NGINX configuration. In this file locate the location / block that should look like this:
    location / {
        try_files $uri $uri/ /index.php?$query_string;
    }
We are going to completely replace that with:
    location / {
        proxy_pass             http://127.0.0.1:6001;
        proxy_read_timeout     60;
        proxy_connect_timeout  60;
        proxy_redirect         off;

        # Allow the use of WebSockets
        proxy_http_version 1.1;
        proxy_set_header Upgrade $http_upgrade;
        proxy_set_header Connection 'upgrade';
        proxy_set_header Host $host;
        proxy_cache_bypass $http_upgrade;
    }
This will instruct NGINX to proxy all the incoming connections to Soketi (which is running on port 6001 by default) on the localhost, there is some additional options to enable proxying of WebSocket connections. Save your changes, test the configuration and then publish the changes. After that is finished your should be able to navigate to your chosen domain and you should see:

Yes. OK. That's it 😅 It might be nothing flashy but it's all we need to know that Soketi is running and that you have setup the NGINX proxy correctly.
That was the "hard" part. From here it's setting up Laravel to talk with Soketi but that is pretty easy compared to what we had to setup to get Soketi running, let's go!
Laravel
I have setup a fresh Laravel project to make these code changes to by running composer create-project laravel/laravel soketi-example keep that in mind that any changes I am telling you to make are based on fresh config files and files available in a fresh Laravel application. Take what you need and adapt to your application where needed.
Back-end config
This one is pretty simple, we only have to make some changes to the .env file:
PUSHER_APP_ID=your-configured-app-id
PUSHER_APP_KEY=your-configured-app-key
PUSHER_APP_SECRET=your-configured-app-secret
PUSHER_HOST=socket.example.com
PUSHER_PORT=443
PUSHER_SCHEME=https
# PUSHER_APP_CLUSTER=mt1 this value can be removed, it's not needed or used
Yes. Done! There is actually no code to change since everything can be configured from your .env file, if you are curious check out the config/broadcasting.php to see how it's setup.
Front-end config
We start by installing the pusher-js package by running npm install pusher-js. And then we are basically done... You were already thinking this was going to be an adventure right? No need!
We do need to comment out a few lines in our resources/js/bootstrap.js to enable Laravel Echo and but it is already configured for us because we setup the right values when we were setting up the back-end.
In a default application it's only needed to run npm run build and recompile everything after our changes and that is because our .env looks like this and alreay shares the Pusher connection data we setup in the previous step with the front-end.
VITE_PUSHER_APP_KEY="${PUSHER_APP_KEY}"
VITE_PUSHER_HOST="${PUSHER_HOST}"
VITE_PUSHER_PORT="${PUSHER_PORT}"
VITE_PUSHER_SCHEME="${PUSHER_SCHEME}"
VITE_PUSHER_APP_CLUSTER="${PUSHER_APP_CLUSTER}" # this value can be removed, it's not needed or used
Start broadcasting
Now that you have all that out of the way you can skip a good chunk of the broadcasting Laravel docs. You can start right here: https://laravel.com/docs/10.x/broadcasting#concept-overview and follow the docs to start broadcasting events in your back-end and start listening to them in the front-end.
Conclusion
You now have Soketi up and running on your Ploi server on a dedicated (sub)domain. You can now go back and configure more features in the Soketi configuration file if you want or add more app configurations to share the Soketi server with multiple Laravel applications. Happy socketing, build some cool stuff with all those realtime powers!